Katia’s suspension is a rare and wonderful thing. It is also a blatant copy of Jamie and Ric’s work. In turn, much of what they have pioneered here in the states has been common practice in Brazil for a mighty long time.
The Fox comes from the factory with an independent front strut suspension and a rear torsion beam. While maintaining this system, Katia has been modified for much greater performance.
To start, the front strut housings were shortened by 46mm and the bottom spring perches removed. In their stead a flat disk was welded into place just above the steering arm. This work was done, as usual, by Jonathan at Quantum Mechanics.
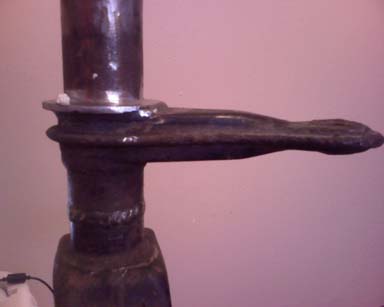
Modified Housing Prior to Paint
Since the housings were showing their age, I decided to spend some time sanding them down. I started by shooting them with Aircraft Remover paint stripper. The factory enamel was very resistant to this, but luckily the areas which were rusting stripped easily. Once the paint was stripped, I moved on to hand sanding of the largest surfaces, which stripped the majority of the rust without removing much of the surface at all. I then moved on to the trusty Dremel with a variety of sanding and wire wheel attachments. The curved carbide steel brush worked the best. The strut housings were then shot with several coats of a self-etching metal primer and finally a paint designed for use on wheels. This is the end result:
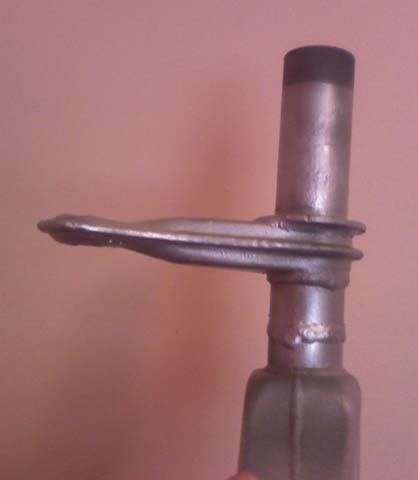
Like new. Only better!
A 2.04″ ID, 5″ length Coleman coilover kit is then placed over the shortened strut housing, along with the new lower spring perch.
Bilstein Rabbit Sport shock absorbers are then installed into the modified housings. The Rabbit shocks are considerably shorter than the Fox’s, hence the need to shorten the housing itself. Using the shorter shocks allows the Fox to go much lower, obviously. The shock nut is then slid down over the shock assembly and tightened, capturing the coilover sleeve in the process.

Comparison between stock Fox shock and Bilstein Rabbit shock
Eibach coilover springs are then slipped onto the bottom spring perch. I chose 6″ length, 2.5″ ID, 300 lbs/in. springs for the front, which is about all the Bilsteins can handle in their factory configuration. The top spring perch is then slipped onto that, and the strut bearing on top of that. And voila! Coilovers! One special item to note is that the Coleman coilover kit, while it claims to have been machined for use with Bilsteins, is not a perfect fit. The upper spring perch will either need to be special ordered (which Coleman will do) or a bushing created. This is for two reasons: 1) the strut bearing requires a spacer between it and the upper spring perch in order to rotate freely, and 2) the bilstein shaft is considerably smaller than the 21mm opening that the spring perch has from Coleman. I was lucky enough to have DubbyDrive on the VWVortex turn me a set of bushings especially for this project, but, again, Coleman will machine the upper spring perches to your specifications – it just takes more time.
The strut housing then has new wheel bearings and hubs pressed in (all new parts from GAP as always).
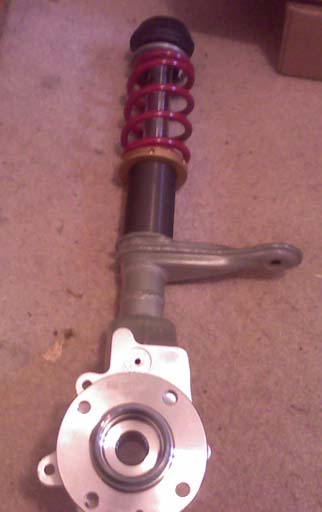
Finished Coilover Assembly
Notice that the bottom spring perch/coilover collar is threaded all the way up in the picture. In reality, the weight of the car will settle the spring down home and the collar will be threaded much lower; however, for the sake of the picture, I pushed it up as far as it would go. Keen observers will also note that the hub is just sitting on top of the assembly.
The rear coilovers were much easier and cheaper. Rabbit Bilstein Sport shock absorbers were again chosen; however, no modification is required to run these on a Fox (. . . with coilovers, anyway). This time, Coleman sleeves were ordered in 2.04″ ID, 7.00″ length; however, as these are generic kits, they required some modification in the rear. 44mm needed to be removed. The factory Bilstein lower spring perch is then slid over the shock absorber’s circlip and the Coleman sleeve and lower perch rest on that. Eibach springs (7″ length, 2.5″ ID, 250 lbs/in) are then rested on top of the lower perch and then upper perch is installed as before. Carried over from the factory system are a large washer and spacer tube. Polyurethane rear bushings designed for an A1 VW were used in place of the Fox units.

Coilover installed on Car 6/21/08.
As you can see from the above picture, the bottom collar still has a bit of adjustability. However, the pictures speak for themselves:
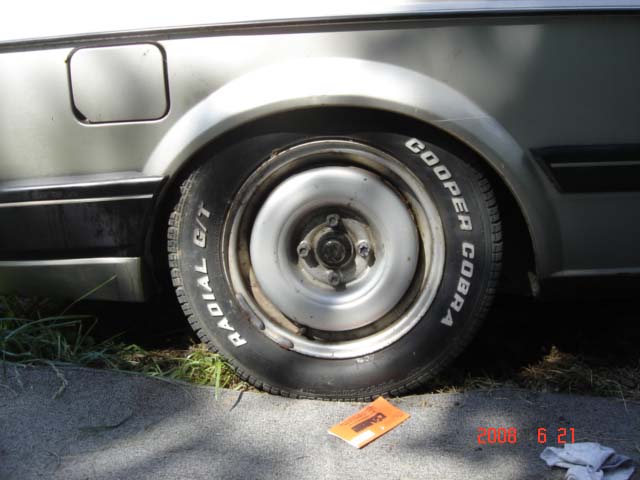
Dumped!
Bear in mind that there is currently no engine in the car . . .
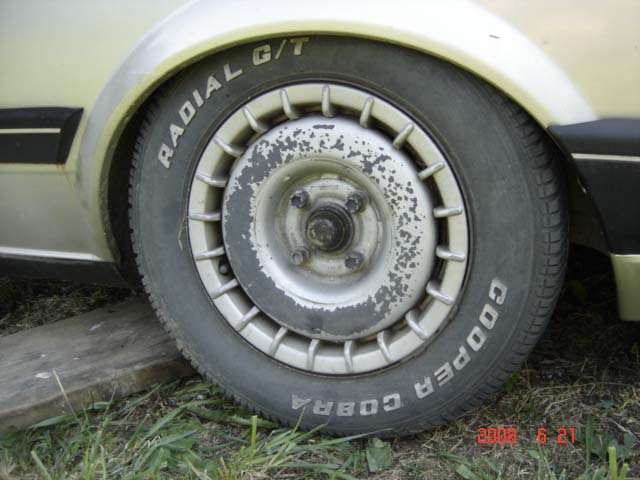
But that's low!
In addition to the rear coilovers, Chris and I installed an entirely new-to-Katia rear torsion beam. This beam had new bushings pressed into it by the previous owner (Dean!) and also had an O-Bar installed, which should tighten things up in the back nicely.
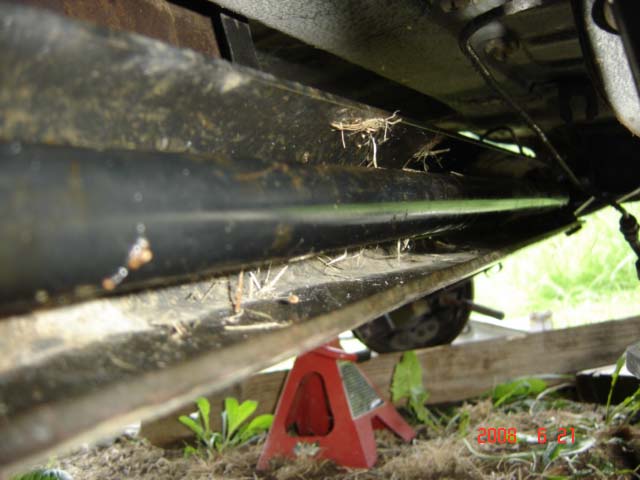
Rear Beam with O-Bar
On the tires and wheels side of things, 15″ Dodge Omni GLH-style rims have been purchased and will wear 205/50/15 Fuzion ZRi’s from TireRack.
The rims were another Quantum Mechanics purchase. This is what they look like on an Omni (although mine, of course, are 4×100, not 5 lugs as seen.)
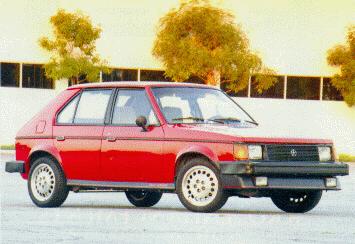
Dodge Omni GLH wearing "Pizza" Rims