Katia’s engine is my pride and joy for this project, but getting it built was a long and expensive process.
The build started, as I’ve already said, with my failed attempt to buy Chris’ 3A engine. The 3A is a 2.0 liter (1984cc), 8 valve Audi block that was found in the Audi 80 2.0E. With the 3A head and exhaust, this engine produces 115 horsepower – an instant 25 horsepower upgrade without a single performance modification. The 3A is a hot engine for early VWs because the block is the same height as the original 1.6-1.8 blocks found in these cars, has the stock mount points available, and its head is set up for the same fuel injection. As I mentioned earlier, Chris’ block had already been in a Fox, so there would be no extra steps involved in placing it in mine. This, however, was not to be.
What I did end up buying from Chris was a 9A block. The 9A is a 2.0 liter (1984cc), 16 valve Volkswagen block that was found in the B3 VW Passat and the very late A2 GTI/GLI. The 9A cannot be swapped directly into a Fox because the 16v head is crossflow in design; although, it has been done:
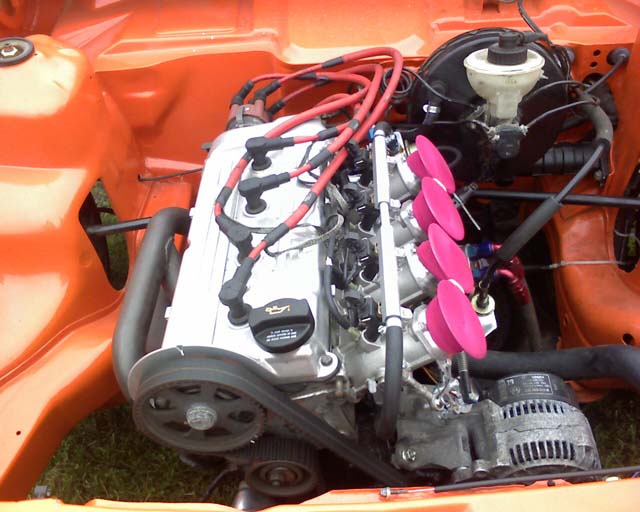
Jamie (The Brit on the 'tex)'s 16v Fox.
Notice how the system uses individual throttle bodies to help with hood clearance and that the battery tray has been removed? That’s an Audi V8 exhaust header, too. Jamie’s solution is both practical and beautiful, but a little bit beyond my budget. It should be noted, although it doesn’t matter with regard to the swap, that the above engine is a 1.8 16v, not a 2.0.The solution, or so we thought, to this problem was to use a counterflow 8v head on the 9A block, which would solve the fitment issues. There would, however, have been other problems. The 16v has a combustion chamber volume of 50.9cc when combined with the 16v pistons, which have a dish of -4mm (they are domed), resulting in a 10.74:1 compression ratio. The 8v head has a combustion chamber of 49.7cc when combined with the 8v pistons, which have a dish of 10mm, resulting in a 9.96:1 CR. Combining an 8v head with 16v pistons reduces the combustion chamber to 35.7cc and skyrockets the compression ratio up to 13.48:1. While this combination has been used to some success in the past by racers, without a knock sensor, or ready access to race gas, this level of compression would blow up my nice new engine fairly quickly. According to Wikipedia, the average production car does not exceed 10.1:1 and motorcycles, with their acceptedly lower lifespans, only go up to 14:1. Another solution had to be found.
The solution to the problem of the solution to the initial problem was found in the form of 3A pistons bought, again, on the VWVortex. The 3A and the 9A have the same bore, the same stroke, the same rod length, the same wrist pin, same block height: for all intents and purposes they are the same block. So rather than finding a 3A and having it shipped from God-knows-where for God-knows-how-much, I opted to purchase the pistons and rods and use them in conjunction with the 9A crank. The resulting engine would, for all intents and purposes, be a 3A.
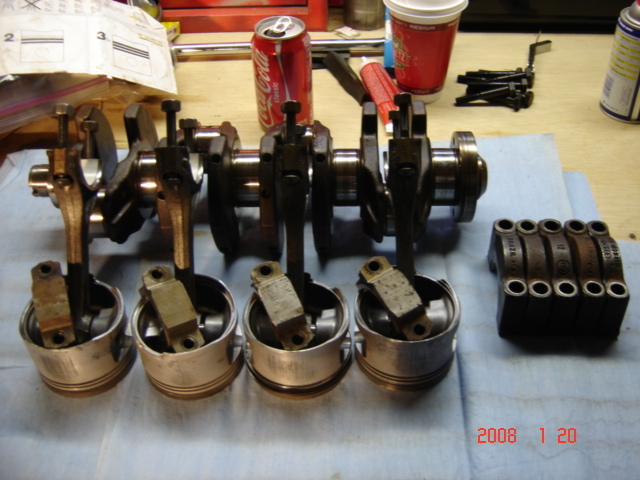
Audi 3A pistons and rods with VW 9A crank and Fox main bearing caps.
We prepared to tear down the block and reassemble it with the “new” pistons and rods. We started to prepare for this, that is, until we happened to check the cylinder walls for round and found that they weren’t quite where they needed to be. They were bigger than they were meant to be – at second overbore, in fact – and not uniformly so. The only solution would be to overbore the block to correct this, which would mean custom pistons, which would mean another $600 tacked on to the budget. The block was scrapped.
The search for another 3A began, but nothing turned up, and eventually I decided to take a suggestion from Jonathan and turn the stock Fox block into a 2.0. This was a route he had taken in the past and it had worked well for him.
As I mentioned previously, the 3A is the same deck height as the old 1.8, and the same stroke. The difference in displacement comes from the larger piston bore, so the magic in turning the 1.8 into a 2.0 was simply having the engine bored out by a machine shop. We used a spare block Chris had around the house as our starting point.
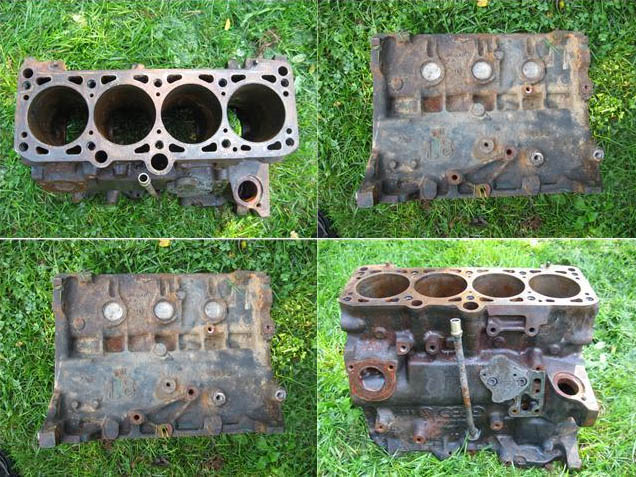
Old Rusty 8v Block
Beautiful, huh? This block had actually been in a hole in Chris’ yard when he drug it out and we sent it off to the machine shop. On the list of things to do there was a hot tank and overbore, as well as installing new IM shaft bearings, since the old ones would not survive the hot tank. This is the result:
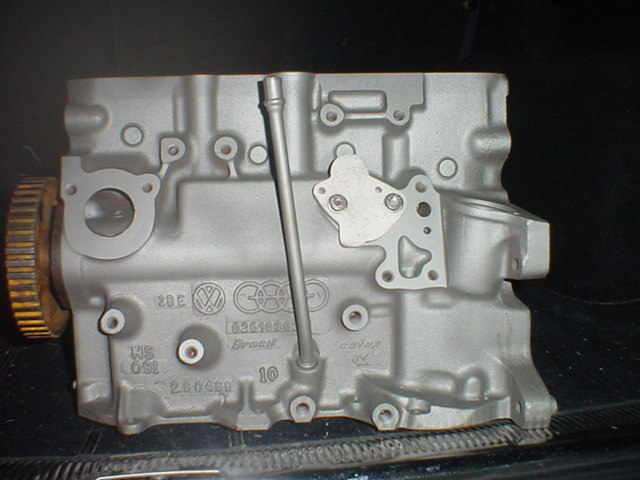
Side of Block after Hot Tank
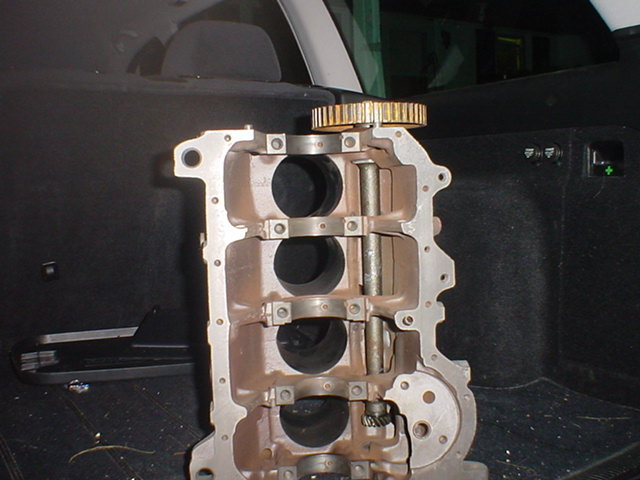
Interior of Block after Hot Tank
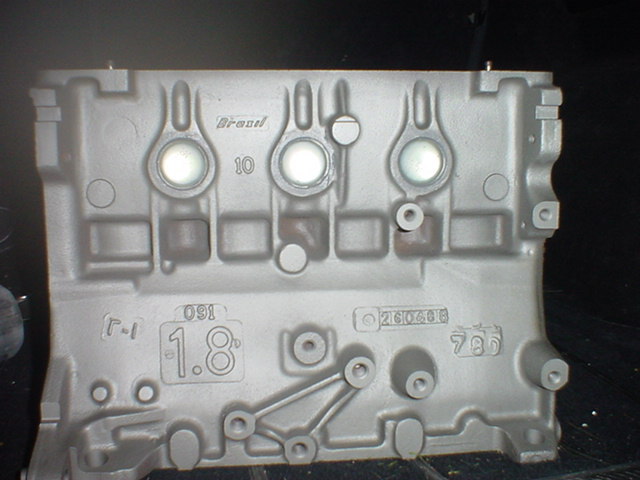
Side of Block after Hot Tank - Notice the Brazil Stamp, Marking this as a Fox Block
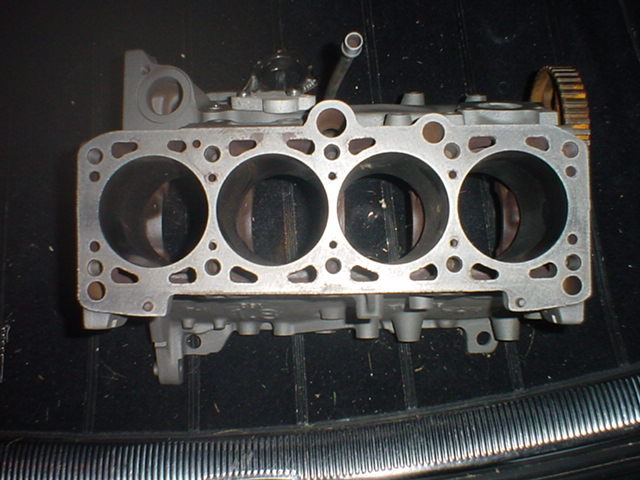
Overhead view of block, showing the nice new bores.
With a nice clean block at our disposal, we began rebuilding. Essentially new everything was ordered from TT and GAP to rebuild the engine.
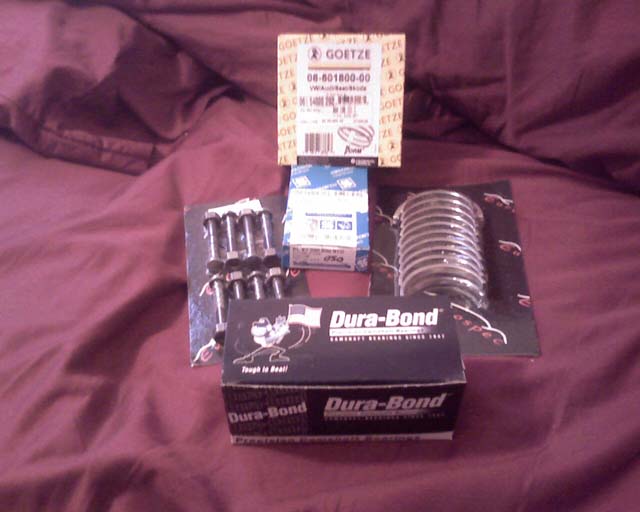
Eurospec rod bolts and main bearings, Kolbenschmidt rod bearings, and Goetze piston rings. The Dura-Bond IM shaft bearings weren't used, as the machine shop fitted their own.
We began by installing the new piston rings, after checking for proper tolerances and making some adjustments. Of course, a thin layer of oil was first applied to the cylinder wall.
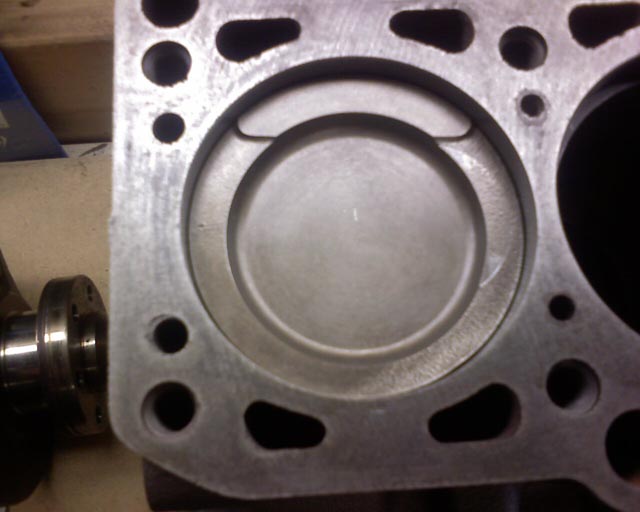
First piston installed with new rings.
After the new rings came the new main bearings.
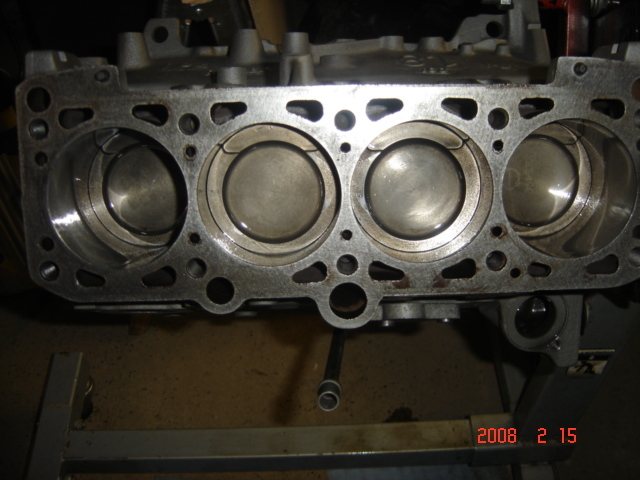
All four pistons installed - boy are they tight!
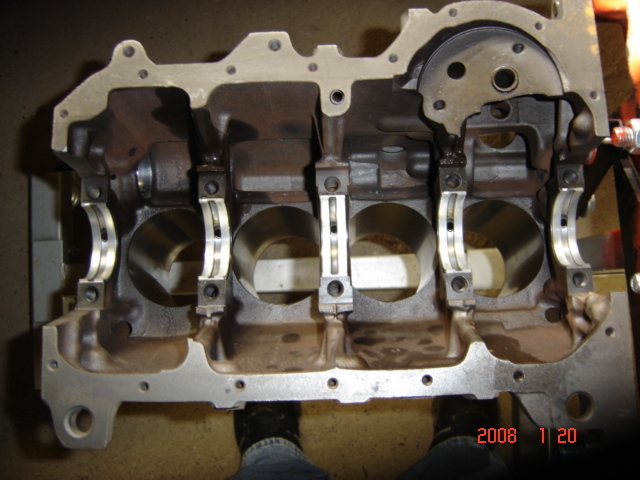
New main bearings installed and tolerances checked with plastigauge.
The crankshaft is connected to the connecting rods, and they all go for a spin. BUT!

Con-rod #4 is a little too tight . . .
The solution is to grind away part of the casting to allow for piston movement. The result is still tight; however, the tolerances on these engines are incredibly tight to begin with. When we tore down the original 9A engine, we noticed that at bottom dead center the pistons – which can travel upwards of 100 revolutions per second – were only millimeters away from hitting their oil squirters. But this never happens.
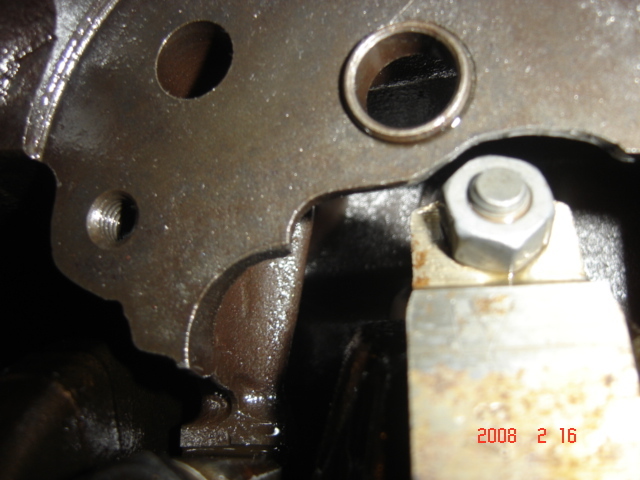
The newly clearanced casting.
In addition to the block casting, the intermediate shaft also had to be altered to account for piston and rod #4. The modified intermediate shaft was another Quantum Mechanics purchase.
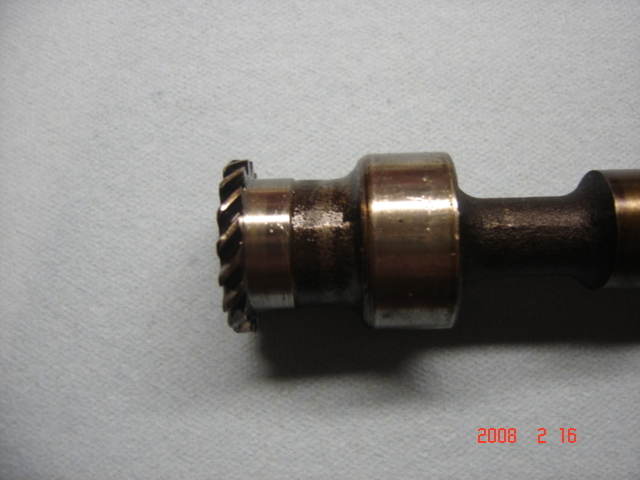
Modified IM shaft
A Techtonics high flow oil pump and a rubber oil pan gasket and water pump from GAP complete the ensemble. The Fox oil pan is retained so that there are no clearance issues with the subframe. Also retained from the Fox are its oil flange and crankshaft cog.
The engine will be mounted with Track Density lower mounts from 034 Motorsports and an A1 racing front mount from TT